
Understanding Each Step of the Chimney Rebuild Process
Professional rebuilding a damaged chimney above a roofline, restoring structural integrity, proper ventilation, and long-term safety for the home.
Introduction to Chimney Rebuilds
A chimney rebuild is one of the most significant structural repairs a homeowner can face, and it is often misunderstood. Unlike routine chimney maintenance or surface-level repairs, a rebuild addresses deep structural, safety, and performance issues that cannot be solved with patching or repointing alone. When done correctly, a rebuild restores the chimney’s ability to vent safely, resist weather, and protect the home for decades.
This article walks through the chimney rebuild process step by step, explaining what professionals do, why each stage matters, and what homeowners should expect along the way. Understanding the process helps homeowners make informed decisions, communicate effectively with contractors, and feel confident that the work being done truly solves the underlying problems.
What a Chimney Rebuild Actually Is
A chimney rebuild involves partially or completely dismantling an existing chimney structure and reconstructing it using sound materials and modern, code-compliant methods. Most rebuilds focus on the portion above the roofline, where weather exposure causes the most damage, but in more severe cases, rebuilding may extend lower, sometimes all the way to the firebox.
This work goes far beyond cosmetic fixes. Rebuilds address serious structural deterioration, compromised mortar and brick, unsafe clearances, failing flue systems, and chronic moisture intrusion. Chimneys typically need rebuilding when damage becomes extensive, such as widespread spalling, leaning or shifting, deep mortar failure, or repeated leaks that have weakened the structure.
Why Chimneys Fail and Need Rebuilding
Chimneys fail gradually. Years of exposure to rain, snow, freeze-thaw cycles, heat, and wind slowly break down masonry. Water enters through cracked crowns, failed flashing, or missing caps, saturates brick and mortar, and expands when frozen. Over time, this leads to crumbling joints, cracked bricks, and loss of structural strength.
Other contributors include poor original construction, outdated materials, lack of inspections, chimney fires, and improper appliance use. Warning signs often include loose or cracked bricks, tilting stacks, interior water stains, rusted components, smoke backing into the home, or strong odors. When deterioration reaches a certain point, rebuilding becomes the safest and most durable solution.
Full vs. Partial Chimney Rebuilds
A full rebuild typically reconstructs the chimney from the roofline up, or in extreme cases, from the firebox upward. A partial rebuild focuses only on the damaged section, often the top few feet, shoulders, or crown area. The decision depends on how deep the damage extends and whether lower sections remain structurally sound.
Partial rebuilds can be less expensive and quicker, but they rely on the integrity of the remaining chimney. Full rebuilds offer a longer lifespan and allow the entire system to be modernized and brought up to current safety standards. Professional inspection is essential to determine the appropriate scope and avoid future failures.
Safety, Codes, and Professional Involvement
Chimneys handle high heat and hazardous combustion gases, so their construction is governed by building and fire codes. Most rebuilds require permits and inspections to verify structural integrity, proper flue sizing, and safe clearances to combustible materials.
Because of the risks involved, chimney rebuilds should be handled by licensed, insured professionals with masonry and chimney expertise. Working at height, managing structural loads, and modifying flue systems require training, experience, and specialized tools that go far beyond DIY capabilities.
Initial Assessment and Inspection
The rebuild process begins with a thorough inspection. Professionals start with a visual exterior assessment, checking for spalling, missing mortar, cracks, lean, crown damage, and flashing issues. They also examine how the chimney intersects with the roof and siding, as these junctions are common failure points.
The interior evaluation follows, including inspections of walls, ceilings, attic spaces, fireboxes, and visible flue sections. This step often reveals water damage, framing issues, or clearance violations that are not visible from outside.
For more complex cases, video flue inspections are used to examine the internal condition of the chimney. Cameras reveal cracked liners, gaps, offsets, or blockages that affect safety and venting. Findings from this inspection inform the rebuild plan, particularly liner replacement decisions.
All damage is documented with photos and notes, which are reviewed with the homeowner. At this stage, contractors explain rebuild options, materials, timelines, and costs in clear terms, allowing homeowners to ask questions and make informed choices.
Planning, Permits, and Preparation
Once the scope is defined, the contractor creates a detailed rebuild plan outlining demolition limits, materials, liner work, crown and flashing details, and any related repairs. A clear scope of work prevents misunderstandings and establishes expectations for schedule and cost.
Permits are then obtained as required by local authorities. This ensures the rebuild meets current codes and provides official oversight through inspections. Permit compliance protects homeowners legally and financially, especially for insurance and resale purposes.
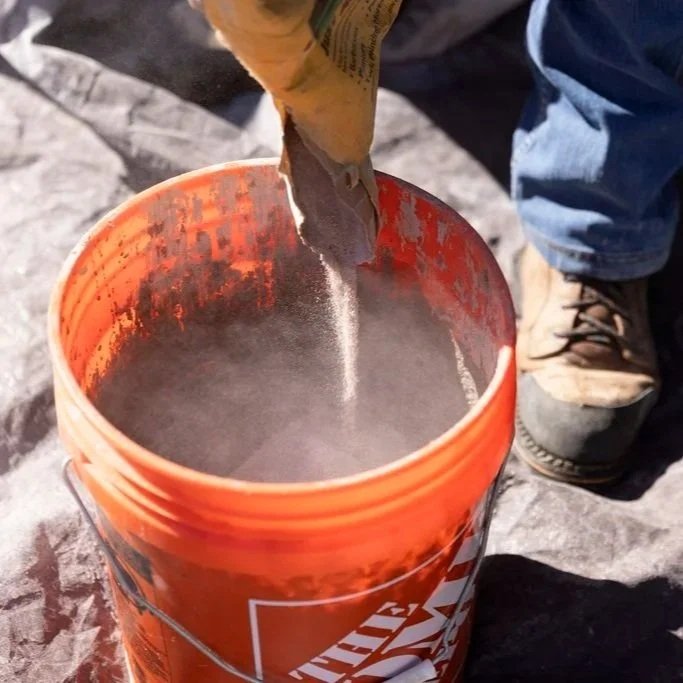
Material selection follows. Contractors choose brick, block, mortar, liners, and accessories based on durability, performance, and appearance. Matching existing brickwork may be important aesthetically, but proper material compatibility and climate resistance are critical for longevity.
Scheduling and site logistics are planned next. This includes choosing appropriate weather windows, setting up access equipment, staging materials, and coordinating debris removal. Homeowners are informed about noise, dust, parking needs, and safety boundaries.
Safety Setup and Site Protection
Before demolition begins, crews install scaffolding or ladders with proper fall protection. Roofs, gutters, siding, and landscaping are shielded with tarps, plywood, or protective pads. Interior spaces near the chimney are covered to limit dust infiltration, and fireplace openings are sealed.
Contractors establish clear work zones and daily cleanup procedures. Homeowners receive guidance on restricted areas, safe pathways, and communication protocols during the project.
Demolition: Removing the Damaged Chimney
Demolition is done carefully, starting at the top and working downward course by course. This controlled approach prevents damage to the roof and surrounding structure. Debris is collected using buckets, chutes, or staging areas and removed according to local disposal regulations.
As demolition progresses, hidden conditions often emerge, such as rotted framing, deeper cracks, or moisture-saturated materials. Contractors reassess and communicate any necessary changes to scope, cost, or timeline.
Open flues are temporarily capped or covered each day to keep out rain, debris, and animals, protecting the interior until reconstruction is complete.
Inspecting and Repairing the Chimney Base
Before rebuilding upward, the chimney base and footing are evaluated for stability. Cracks, settling, or inadequate support must be corrected to prevent future movement. Repairs may include replacing damaged masonry, adding reinforcement, or addressing drainage issues near the base.
Clearances to combustible framing are verified and corrected if necessary. Bringing these areas up to code is essential for fire safety and often mandatory during a rebuild.
Rebuilding the Chimney Above the Roofline
Reconstruction begins at the transition point between existing sound masonry and the new work. The first courses are carefully aligned, bonded, and leveled, setting the foundation for the entire rebuilt section.
Masons match brick and mortar as closely as possible, maintaining consistent joint thickness and tooling for durability and appearance. As the chimney rises, the flue system is integrated, whether that involves setting clay tiles or preparing for a metal liner installation.
Chimney height is built to meet code and draft requirements. Proper height ensures efficient venting, reduces smoke issues, and prevents dangerous backdrafting.
Rebuilding the Chimney Crown
The chimney crown is reconstructed to shed water away from the masonry. Old crowns are removed, forms are installed, reinforcement is added if required, and high-quality concrete is poured with proper slope and overhang.
Expansion joints are incorporated around the flue to prevent cracking from heat movement. The crown is then cured and protected to ensure long-term durability. In some cases, pre-cast crowns or advanced coatings may be used, depending on design and climate.
Installing or Upgrading the Chimney Liner
Linings are essential for safe operation. During a rebuild, existing liners are evaluated and replaced if damaged or outdated. Options include clay tiles, stainless steel liners, or cast-in-place systems, selected based on appliance type and chimney configuration.
Liners are installed, insulated if required, and securely connected at both the base and top. After installation, professionals verify continuity and performance through testing or camera inspection.
Replacing Flashing and Waterproofing
Old flashing is removed, roof interfaces are repaired, and new step and counter-flashing is installed to create a watertight seal between the chimney and the roof. Proper flashing relies on metal integration, not caulk alone, to manage water effectively.
In some cases, breathable masonry water repellents are applied after curing to reduce moisture absorption while allowing vapor escape.
Installing Chimney Caps and Termination Components
Chimney caps are installed to keep out rain, animals, and debris while maintaining proper draft. Caps are selected based on flue size, fuel type, and environmental conditions, and are securely mounted to withstand wind and weather.
Optional components such as spark arrestors or wind-resistant cowls may be included where appropriate and code-compliant.
Final Curing, Cleanup, and Walkthrough
New masonry and concrete are allowed to cure before full use. Contractors advise homeowners on when it is safe to resume normal operation of fireplaces or appliances.
The site is thoroughly cleaned, scaffolding removed, and protective coverings taken down. Final inspections are complete, and any required code sign-offs have been obtained.
During the final walkthrough, contractors explain the work performed, review maintenance recommendations, and provide documentation, warranties, and inspection records.
Timeline, Costs, and Expectations
Chimney rebuilds typically take several days to a week or more, depending on scope, height, weather, and complexity. Costs vary based on materials, access, liner work, and structural repairs. Detailed estimates and contingency planning help homeowners manage expectations.
Temporary noise, dust, and restricted access are normal, but most homeowners can remain in the home during the project with reasonable precautions.
Post-Rebuild Care and Maintenance
Even a rebuilt chimney requires annual inspections and regular sweeping. Homeowners should monitor for early warning signs such as new cracks, water stains, draft changes, or rusted components and address them promptly.
Keeping records of inspections, maintenance, and warranties protects the investment and supports future service or resale.
Conclusion
A chimney rebuild is a structured, multi-stage process designed to restore safety, performance, and durability. From inspection and planning through demolition, reconstruction, liner installation, waterproofing, and final approval, each step plays a vital role in protecting the home.
Understanding the rebuild process empowers homeowners to evaluate proposals, monitor progress with confidence, and maintain their chimneys responsibly after completion. With qualified professionals and ongoing care, a rebuilt chimney can provide safe, reliable service for many years.
FAQs About the Chimney Rebuild Process
Extensive structural damage, widespread spalling, leaning, deep mortar failure, or major liner issues often require a rebuild, while localized deterioration may be repairable. A professional inspection is essential for an accurate determination.
No. The system must remain out of service during demolition and reconstruction for safety reasons until the work is complete and approved.
Yes, in most cases homeowners can remain in the home, though there will be noise, dust, and restricted access near the work area.
With quality materials, proper construction, and regular inspections, a rebuilt chimney can last several decades—even in challenging climates.
Golden Stones Masonry is a licensed and insured expert, offering chimney repair, chimney rebuild, and foundation masonry repair solutions to St. Paul, MN, residents. Our professionals deliver reliable and long-lasting results that come with a 10-year warranty. We take pride in our transparent process and fair and honest pricing. Call now to book a service appointment.