
Interior vs. Exterior Tuckpointing: Which One Your Wall Actually Needs
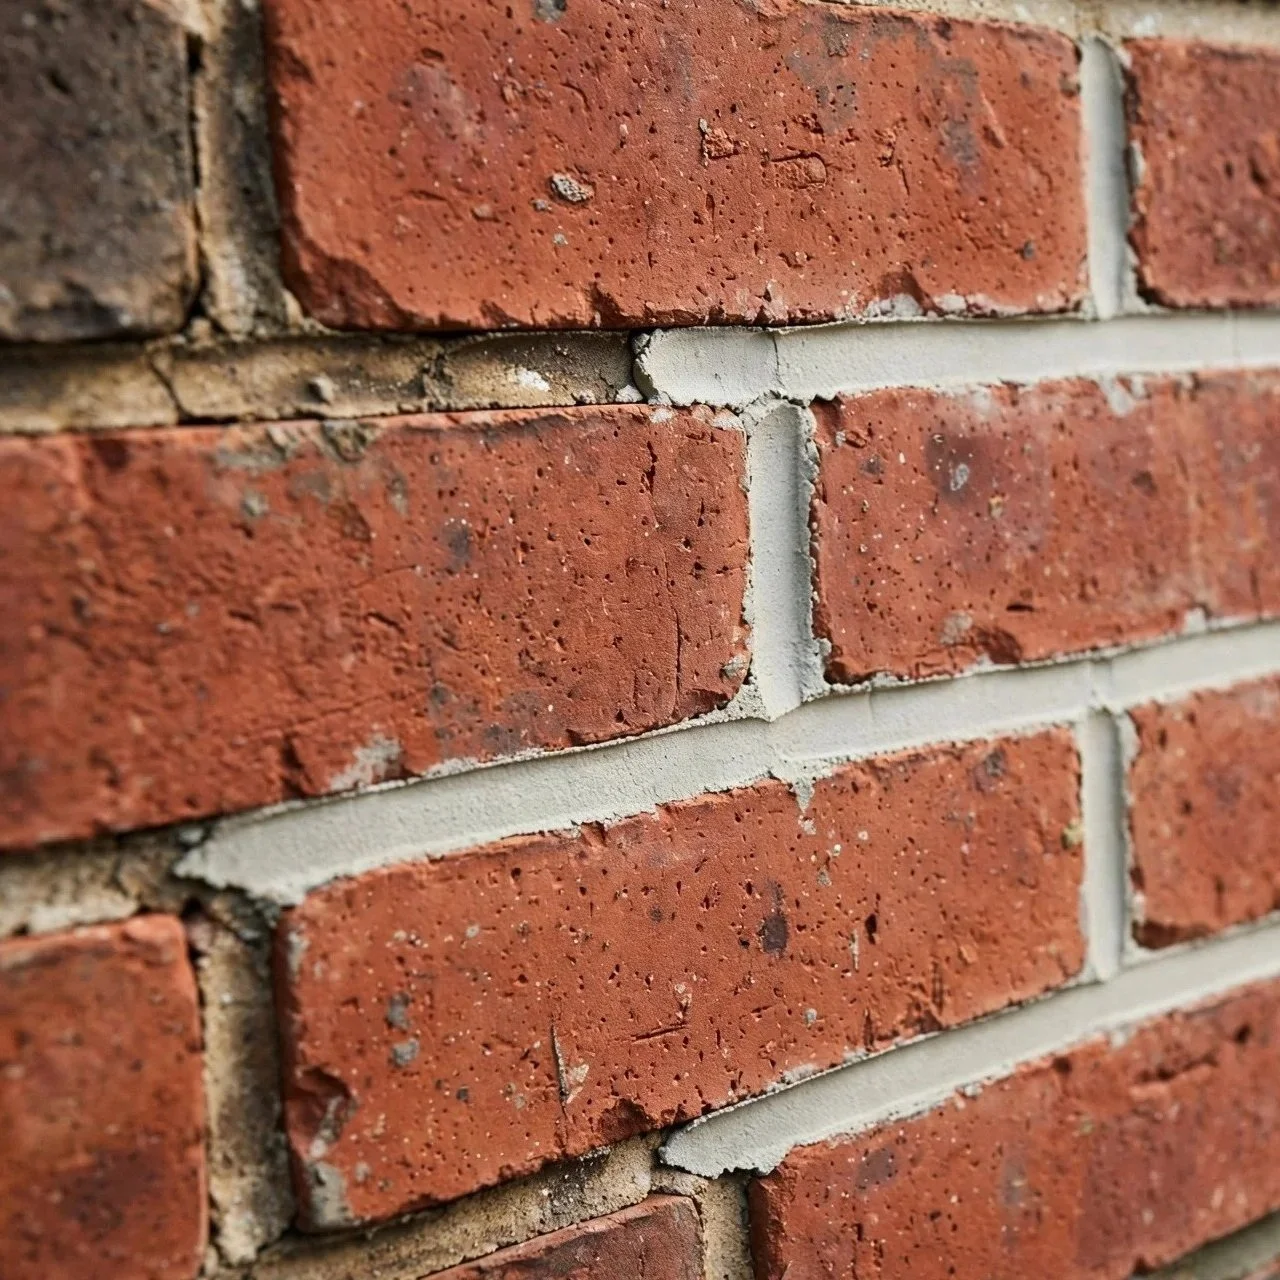
Quick Answer: Exterior tuckpointing repairs the weather-facing side of a wall, where rain, moisture, and temperature swings erode the joints over time. It is the common case, and it protects the structure. Interior tuckpointing repairs are needed for exposed masonry inside the home, such as a chimney chase, a feature wall, or a basement or foundation wall, where mortar has broken down due to moisture moving through the wall or from age. Which one you need depends on which face has failed.
Mortar is the material that holds a masonry wall together. Bricks and blocks are hard and durable, but the mortar joints between them are intentionally softer, so they take the hits, and the units around them do not. That trade-off is the whole reason tuckpointing exists.
Tuckpointing, also called repointing, is the process of grinding out failed, crumbling mortar from the joints and packing in fresh mortar to replace it. It is one of the most common masonry repairs and what keeps a brick or block wall sound and watertight for decades. The confusing part for most homeowners is not whether their joints need it, but where. The same wall can need work on its outer weather face, on an exposed interior face, or both, and the reasons behind each are different enough that it helps to treat them separately.
What Tuckpointing Actually Does
Picture the mortar joints as the grout in a tile floor. The tile takes the traffic, but the grout is what seals the gaps and gets scrubbed away first, and nobody is surprised when the grout goes before the tile. Masonry works the same way. The brick carries the load and shrugs off weather, while the mortar seals the wall and slowly gives way. When the mortar recedes far enough, the wall loses both its seal and part of its bearing surface, and that is the moment repointing pays for itself.
The work itself is methodical. A mason grinds or rakes out the deteriorated mortar to a consistent depth, usually a bit more than twice the joint width, so the new material has something to grip. Then, fresh mortar is packed in, tamped, and tooled to a finished profile. Done right, the repair reads as part of the original wall rather than a patch. Done wrong, it can trap moisture or crack the very brick it was meant to protect, which is why the mortar mix and the joint work matter as much as the labor.
Exterior Tuckpointing: The Weather Face
The outside of a masonry wall is the side that earns its keep and pays the price. It stands between the weather and everything inside, so it absorbs rain, wind-driven moisture, and the constant expansion and contraction that comes with temperature change. Over the years, that exposure wears the joints down. This is the more common of the two repairs by a wide margin, because the exterior simply takes more abuse.
The signs are usually visible from the ground or a short ladder. Look for mortar that has receded below the face of the brick, joints you can rake with a fingernail or a screwdriver tip, gaps opening at the top or sides of joints, and loose bits of mortar collecting at the base of the wall. Spalling brick, where the face flakes or pops off, often shows up alongside failed joints because once water gets past the mortar, it starts saturating the brick and breaking it down. Interior water stains that trace back to an outside wall are another tell.
Climate is one of several stressors here. In a cold region, water seeps into a joint, freezes, expands, and pries the mortar apart a little more with each cycle; repeated freeze-thaw is hard on masonry. But heat and moisture do their own damage the rest of the year. Summer sun bakes and dries the joints, humidity keeps them damp, and the daily swell-and-shrink of the wall never fully stops. A joint does not need a hard winter to fail; it just needs time and exposure, and every wall gets both.
Interior Tuckpointing: The Face You Live With
Not all masonry is on the outside of the house. Plenty of brick lives indoors, and when its joints go, it needs the same repair, just approached a little differently. Interior tuckpointing comes up on exposed interior brick: a chimney chase running up through a room, an exposed brick feature wall, a basement or foundation wall, or the inner wythe of a multi-wythe wall where two or more layers of masonry stack together.
The causes lean less on weather and more on moisture and age. Interior joints rarely see rain, but they can absorb moisture that seeps in from outside or rises from the ground, especially in a below-grade basement wall or a foundation that stays damp. A basement that runs humid year after year slowly softens the mortar in its walls. Age alone plays a part, too, since older lime-based mortars keep getting softer and chalkier long after the wall was built. The frustrating thing about interior failure is that the outside of the wall can still look fine while the inside face crumbles, because the moisture problem is often invisible from the curb.
Why the Mortar Match Is the Whole Game
Here is the mistake that turns a repair into a demolition project: using the wrong mortar. It is tempting to reach for the strongest, most modern mix available and assume stronger is better. With old masonry, it usually is not.
New mortar has to match the old in hardness and type, not just fill the space. Older brick walls were built with soft lime mortar, and the brick itself is often softer than what is made today. When a mason packs in a hard, Portland-heavy modern mortar, that joint no longer flexes with the wall the way the original did. As the wall expands and contracts, the stresses that used to be absorbed by soft mortar are instead transferred to the brick faces, causing the brick to crack and spall. The joint outlasts the brick, which is exactly backward. A proper match keeps the mortar as the soft, sacrificial part it was always meant to be.
Match matters for looks as well as strength. The color of the mortar and the profile of the finished joint, whether concave, flush, or raked, both need to line up with the existing wall so the repair disappears into it. A concave joint sheds water differently than a flush or raked one, so the profile choice is functional too, not only cosmetic. Getting the mix, the color, and the tooling right is what separates a repair that lasts and looks original from one that stands out and fails early.
Tuckpointing or Rebuild: Knowing the Line
Tuckpointing fixes mortar. It does not fix the brick. That distinction is the deciding factor when a wall looks rough, and you are trying to figure out how far the repair goes.
If the brick or block is still sound and only the joints have eroded, repointing is the answer, and it restores the wall without touching the units themselves. But when the brick is spalling badly, shifting out of plane, stepping apart, or the wall is bowing or leaning, the problem has moved past the mortar. At that point, new mortar in old joints is treating a symptom. A full or partial rebuild, taking the wall down and relaying the units, is the real fix. A good mason will call this honestly, because packing fresh mortar around failing brick just buries the problem for a season or two.
A Note on Safety
Grinding old mortar produces a lot of fine dust, and that dust contains crystalline silica, which is hazardous to breathe in. Proper respiratory protection, dust control, and eye protection are not optional on this work. Anything involving height, a chimney above the roofline, or a wall showing structural movement belongs with a professional who has the equipment and the training for it. Small interior joints at ground level are one thing; a two-story exterior wall or a leaning foundation is another entirely.
Frequently Asked Questions
It is designed that way. Mortar is mixed to be deliberately softer than the brick around it, so it weathers, cracks, and gives way first while the brick stays intact. That makes the mortar a sacrificial layer, absorbing the wear that would otherwise attack the units. The timescales are lopsided too: good repointing can hold for decades before it is needed again, while the brick itself can last a century or more. The joints are the recurring maintenance item over a wall's life, and the brick rarely is.
Because strength and compatibility are not the same thing. Mortar is graded by type, and the grade has to suit the wall: Type N is softer and fits most homes and older brick, while Type S is harder and reserved for below-grade or load-bearing work. Reach for a mix harder than the brick it sits against, and it will not flex with the wall, so the load transfers into the brick faces and cracks them. Matching both the type and the lime content to the original is what keeps the repair compatible and protects the brick rather than sacrificing it.
The clearest tell is white, powdery efflorescence or crumbling mortar dust showing up on an interior brick or basement wall. That residue is mineral salt left behind as moisture moves through the masonry and evaporates, and it signals that the inner joints are breaking down. It shows up on exposed interior brick, such as a chimney chase, a feature wall, or a foundation wall, and it can appear even when the outside face still looks perfectly sound, because the moisture source is often hidden below grade.
Look at the brick, not just the joints. If the brick is sound and only the mortar has eroded, repointing restores the wall, and no units come out. It crosses into a rebuild once the brick faces are spalling across an area, the wall is out of plane by more than a fraction of an inch, or several courses have shifted out of line. Past those thresholds, the failure is structural, and packing new mortar into old joints only buries the problem for a season.
Both matter, and the profile is more than looks. A concave or weathered joint is tooled to shed water and is the usual choice for an exposed exterior wall. A raked joint, recessed with square shoulders, looks crisp but holds water on those shoulders, so it is a poor pick outdoors even though it photographs well indoors. Color, meanwhile, decides whether the repair blends into the original wall or stands out as a patch. Getting the profile and color right alongside the mix is what makes a repair disappear rather than announce itself.
Often, yes. When mortar fails on the outside of a wall or below grade, water no longer has a seal to stop it, so it tracks through the masonry and surfaces on the inside as dampness or staining. That means interior moisture can trace directly back to exterior or foundation joints that have opened up, and chasing the leak inside without repointing the failed joints outside usually leaves the source untouched.
Have a mason read your joints before they get worse — a quick look tells you if you need repointing or something bigger. Golden Stones Masonry serves St. Paul and the Twin Cities. Call (612) 509-0718.
